Choosing the Right Aerial Shots for Each Phase of Construction
Why Each Building Stage Needs Its Own Visual Approach
Construction projects move through clear phases. Each one tells a different story. The imagery that works for a foundation pour will not help much when the roof goes on. That is why project managers, architects and clients who track progress through aerial site imagery plan their captures around the building stage. Getting the right view at the right time saves rework, supports progress reports and keeps everyone on the same page.
Site visits for aerial photographs are not one-size-fits-all. A capture date that lands during earthmoving shows different information than one taken after framing. The trick is to match the visual record to the construction schedule. When you do that, the images become a real project tool instead of just a photo album.
Pre-Construction and Site Preparation
Before the first shovel breaks ground, aerial imagery gives a baseline. This is the "before" picture. It shows existing vegetation, drainage patterns, property boundaries and neighbouring structures. For the project team, these images help confirm that the site plan matches reality. They also serve as a record in case of later disputes about pre-existing conditions.
During clearing and grading, the value of aerial site imagery shifts. Now you want to see how the land is being shaped. Is the cut-and-fill work staying within the planned contours? Are erosion controls in place? Wide, high-angle shots work best here because they show the whole pad area. A single image can replace pages of survey notes.
This is also a good moment to establish a regular capture interval. Weekly or biweekly flights give the team a reliable progress report that does not rely on memory. The images become the shared truth that everyone - owner, contractor, inspector - can refer to.
Foundations and Slab Work
Once the foundation stage starts, the camera needs to come lower. Detail matters. Trenches, rebar layouts, footing dimensions and forming all need to be visible. A high-altitude overview of the whole site will not show whether the reinforcement is placed correctly. A lower oblique angle - roughly 45 degrees - often works better. It lets you see into the excavation while still keeping context.
For large commercial slabs or multiple building pads, a straight-down orthophoto can be stitched into a map. That map can be overlaid on the original drawings. Any deviation shows up immediately. This is one of the few stages where the visual record may need to be shared with an engineer for sign-off, so clarity is non-negotiable.
Watch for timing. Concrete placement and curing happen fast. If you miss the window when the forms are in place but before the pour, you lose the chance to verify alignment. Coordinate the capture date with the concrete schedule, not the weekly flight calendar.
Framing and Structural Work
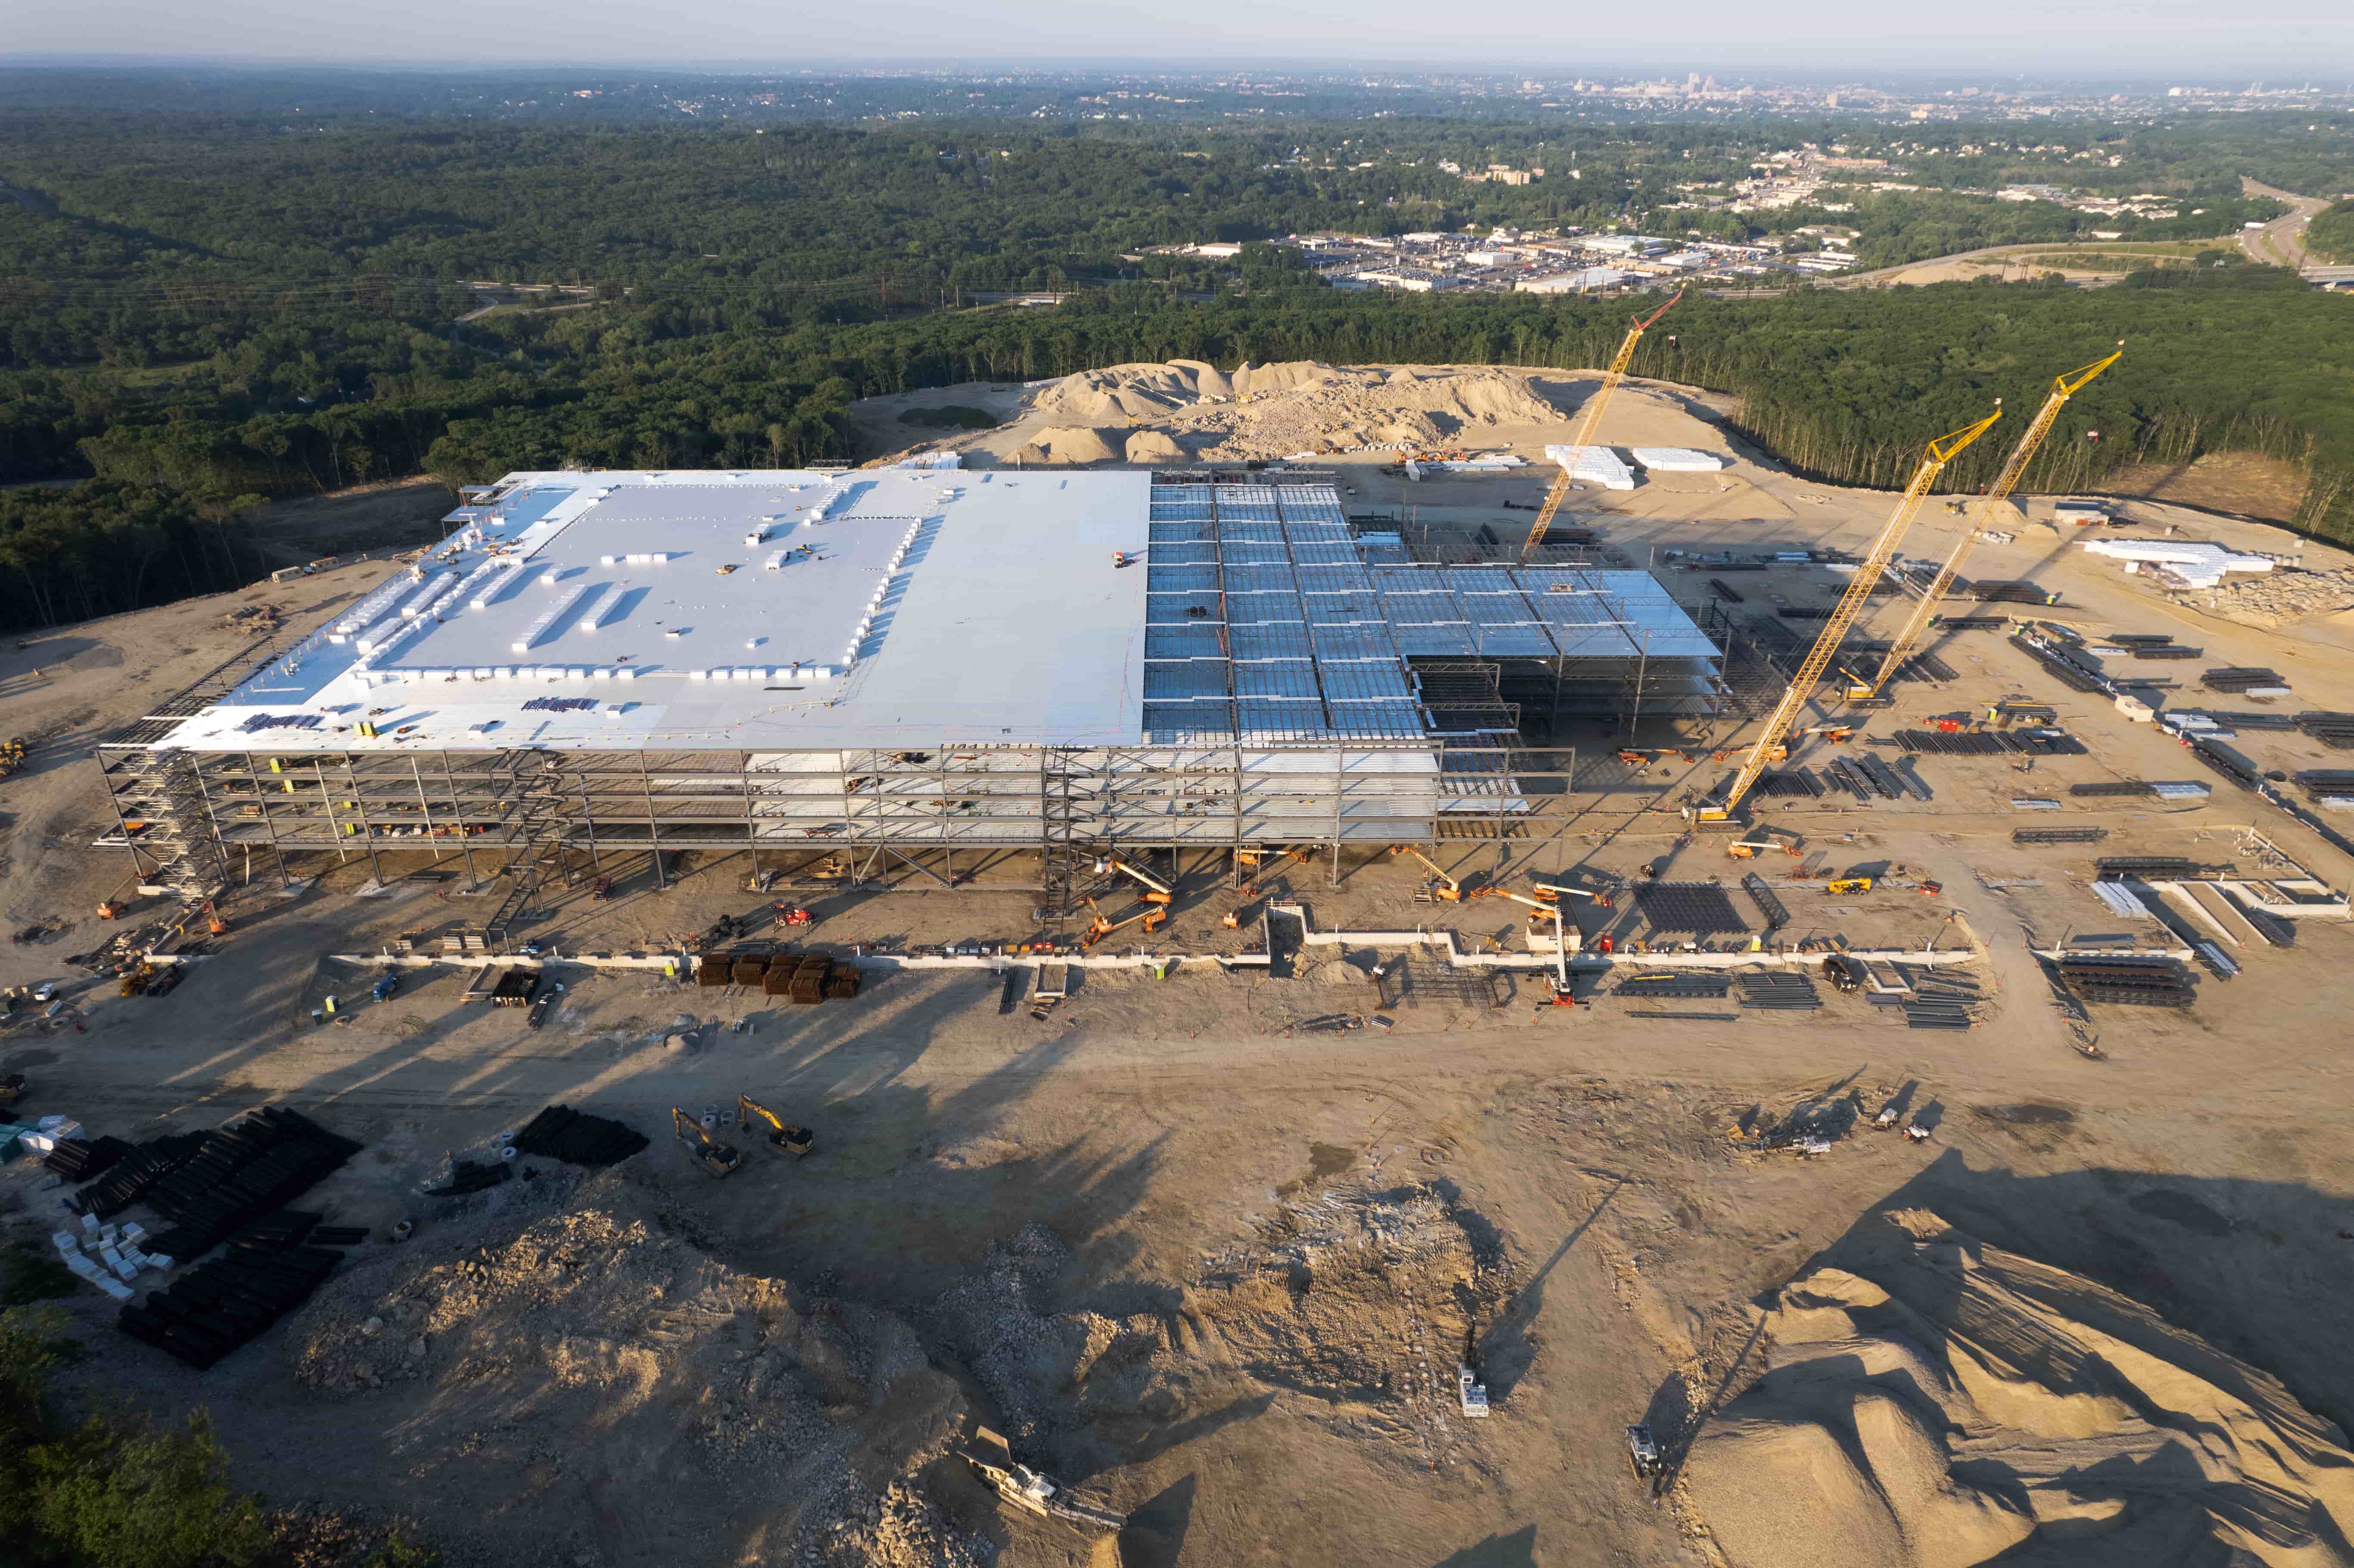
Framing is where the building takes shape. Aerial imagery at this stage needs to show connections - how the steel or timber structure ties into the foundation and how the floors stack. A mix of straight-down and low oblique shots works well. The straight-down view helps with layout checks; the oblique view helps with vertical alignment.
For multi-storey projects, elevation matters. A drone flying at a constant height above the roof line will see the top floor clearly but the lower floors may be hidden. The solution is to fly multiple passes at different altitudes. Some pilots call this a "fisheye" approach - not the lens, but the pattern of capturing from several heights so that every level is documented.
This stage also produces some of the most dramatic images for client updates. A partially framed building with the sky visible through the structure communicates progress more clearly than any Gantt chart. But do not let the visual appeal distract from the practical purpose. Every image should answer a question: Are the beams plumb? Are the floor decks aligned? Is the crane placement safe and efficient?
Enclosure and Weatherproofing
Once the building is enclosed - roof on, windows in, cladding started - the exterior becomes the focus. Aerial site imagery at this stage should highlight how the building meets the ground and the sky. Roof penetrations, flashing, parapet details and gutter slopes are all visible from above. A good set of images can catch flashing that was left loose or a skylight that sits proud of the roof plane.
This is also the phase where 360 panoramas become useful. A panorama taken from the roof edge shows the full envelope in context. It gives the project manager a way to inspect the perimeter without climbing a ladder. Combined with the straight-down roof view, the panoramas create a complete exterior record.
National Drone Services provides coordinated construction progress drone captures with aerial maps, 3D models, site imagery, and 360 panoramas organized in a project portal. For enclosure work, that kind of organised access matters because the images get reviewed by multiple trades - roofers, glazers, cladders - each looking for their own details.
Interior Fit-Out and Finishes
By this point, the exterior work is largely done. Aerial imagery of the interior sounds odd, but it is possible with a drone inside a large open space - a warehouse, a gymnasium, a theatre. The goal is to document MEP runs, ceiling grids and partition layouts. A high oblique shot from near the ceiling shows how ductwork and piping are routed. A straight-down shot of a finished floor pattern can be used for punch-list checks.
For most fit-out work, though, ground-level photography is more practical. The drone's main role shifts to documenting the site as a whole: how the completed building relates to its surroundings, how the landscaping is taking shape, how parking and access roads are being laid out. These images feed into the final handover documentation and marketing materials.
Final Completion and Handover
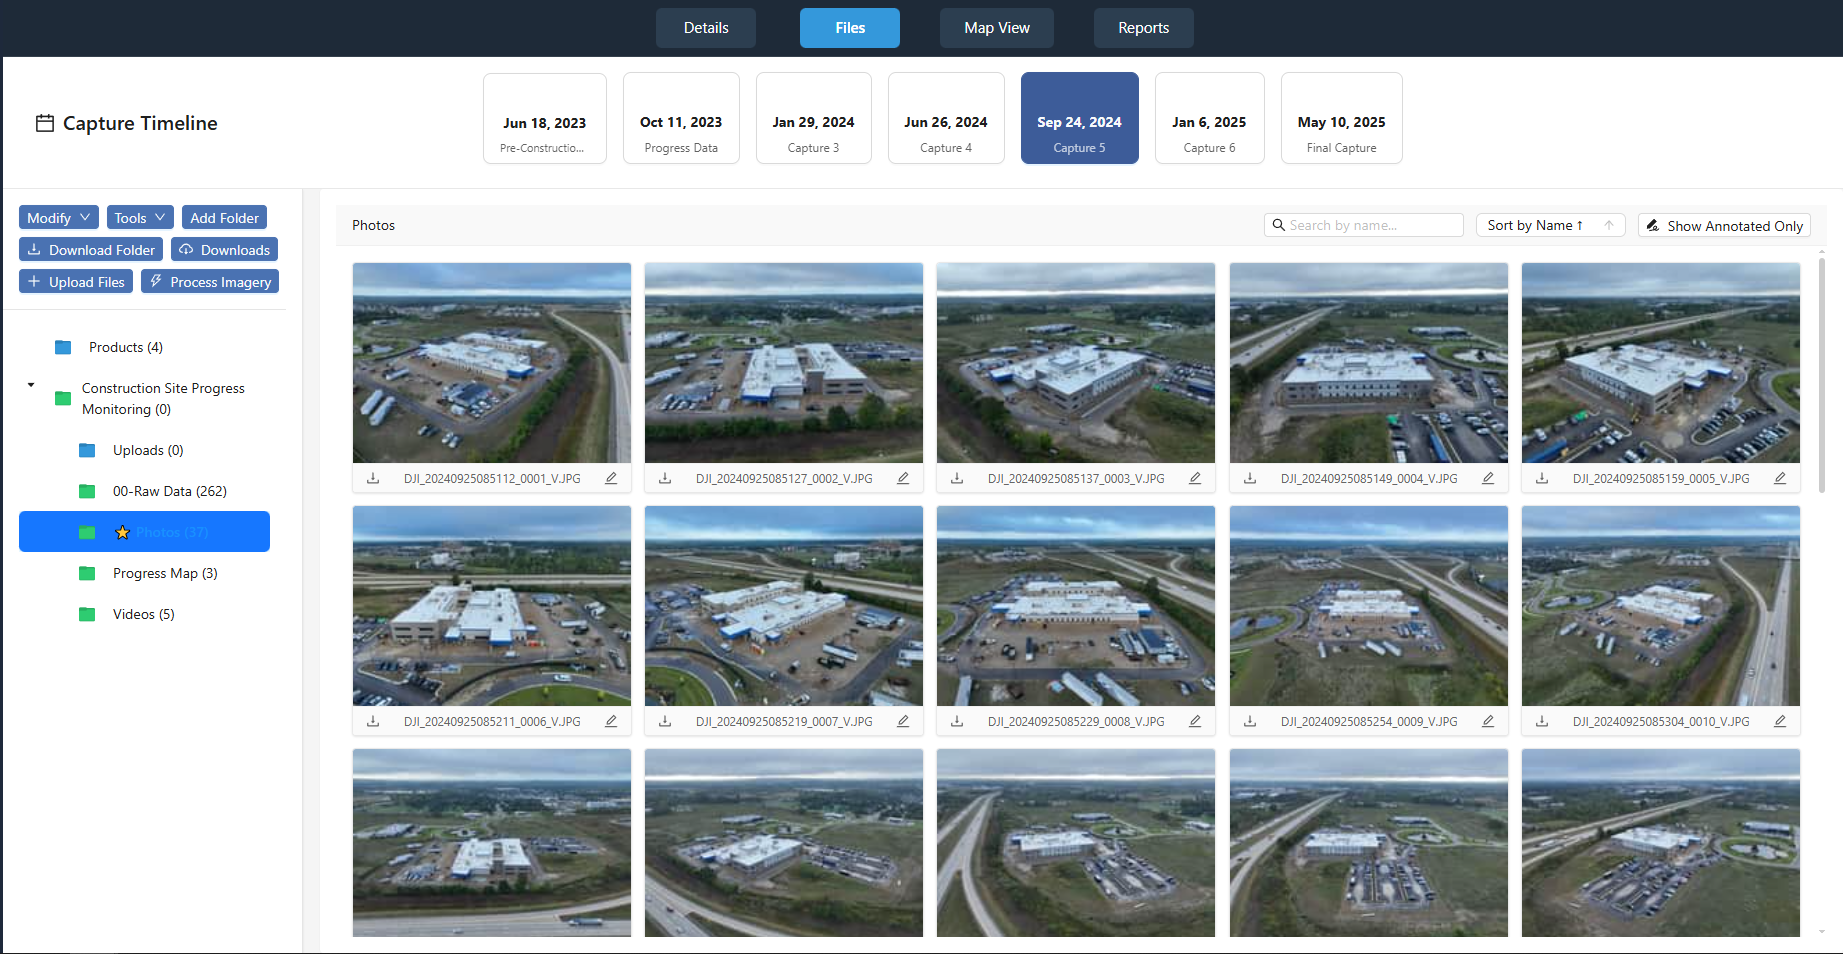
At project close-out, the visual record needs to show the building exactly as built. Every element that was captured during construction now comes together as a timeline. The owner can scroll through the stages and see the building rise. That timeline has real value: it proves that work was done in the right order, it helps with warranty claims, and it gives future maintenance teams a clear history of what is behind the walls and under the slab.
For the final set, combine a high-altitude orthophoto of the entire site with low oblique views of each building elevation. Add a 3D model if the project budget allows. The model lets a viewer rotate the building and inspect details from any angle. It is especially useful for buildings with complex geometry or multiple wings.
The key throughout every stage is consistency. Use the same camera settings, the same flight path (where safe) and the same time of day. That way the images can be compared directly. A change in lighting or angle can make a real difference in the structure look like a defect. Consistency removes that doubt.
Practical Tips for Planning Your Captures
- Align the capture date with the project milestone, not the calendar. A weekly flight that lands on a day when nothing changed is wasted time. Wait until a meaningful stage is complete.
- Share the image plan with the general contractor ahead of time. They can point out areas of concern that need extra documentation.
- Store the images in a platform that allows side-by-side comparison. A project portal that shows the same view over time is far more useful than a folder of files.
- Label every image with the building stage and the date. Without that metadata, the image loses half its value.
National Drone Services structures its captures around these same principles. The goal is not just to take pretty pictures but to build a visual record that supports decisions at every turn. Whether you are a project manager, an architect or a facility owner, the right aerial site imagery at the right time makes your job easier and your project more transparent.